For those who are using Google Workspace accounts, we have implemented an OAuth 2.0 connector with Google SSO.
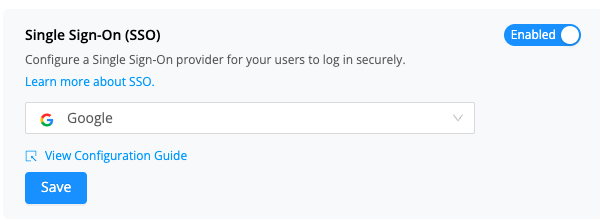
In order to set this up, an Administrator must navigate to Home → Settings → Security Controls. From here you will see the Login Settings section. In this section, update the dropdown for Single Sign-On (SSO) to Google and click Save.
This is all you will need to do to get started with Google SSO using OAuth. If you would prefer to utilize Google SSO through SAML, please see the Integrate to other providers via SAML article to set up a generic SAML connector.
Once set up to sign in with Google, your users will be able to sign in to Genius with their Google Workspace accounts. Please make sure the email for their user in Genius matches the email on their Google Workspace account.
Account Login
If you want your users to be automatically forwarded to login with SSO (so they do not need to click a “Login with Google button” you'll need to turn off Account Login.
Account Login is the ability to use your old AVOXI Genius credentials to login with the password managed through AVOXI. Once SSO is enabled, ideally you should turn off Account Login as that will automatically forward your users to sign in with Google when they attempt to login.
You may want to leave Account Login enabled if you have additional accounts which are not directly tied to a user that you use. These might be things like Administrative accounts or Integration accounts which are not representative of a specific person.
For more information on Google SSO SSO 431 errors, please see this article