The webphone is a 100% web-based application, with no software or additional equipment required to make it work. It's available to all License holders and all user "roles" (Agent, Admin, Supervisor, Billing Admin, Limited Agent, and Inbound Agent). Virtual numbers only customers are required to purchase a license to make use of the webphone functionality.
Making an Outbound Call

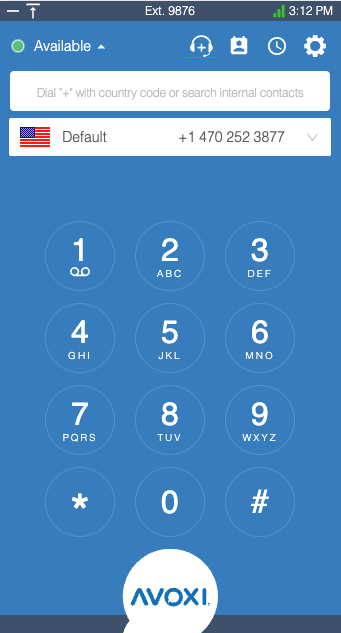
Locate your web phone in the lower right corner of your screen. Then select the + sign to maximize the phone’s display.
Type “+” and then select the dial pad numbers to dial the phone number you wish to call.
Next, press the phone icon![]()
Making a call to someone outside of your organization? Be sure to dial “+” followed by the country code and number (no spaces or dashes).
Making a call to an internal extension? Just dial that extension number, no “+” needed.
Tip: If you wish to use your computer’s keyboard to enter the number you wish to dial, make sure to click on the phone’s screen first to reveal the cursor and then use your keyboard’s keypad to enter the phone number.
Receiving Inbound Calls
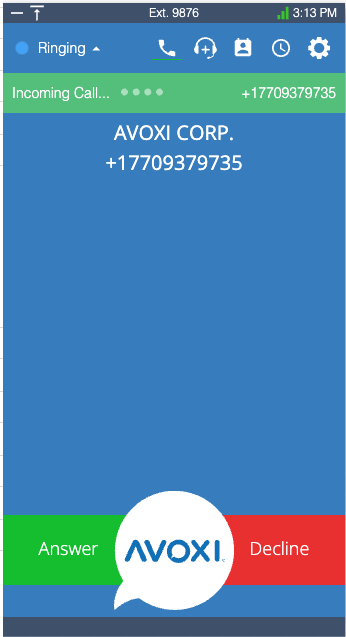
When you are receiving an incoming call, you have the option to Answer or Decline the call.
Make sure your volume is turned up so that you are able to hear your call coming in.

Understanding your Phone Settings
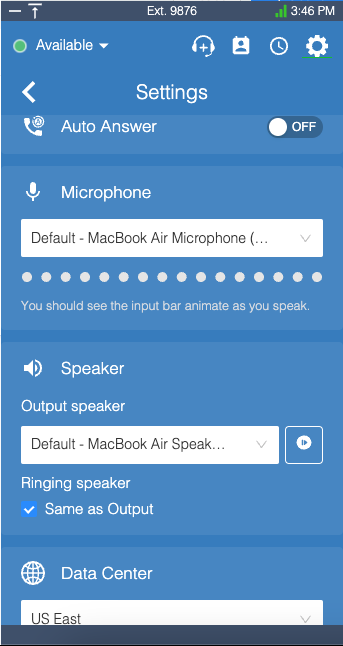
Select the "Settings" icon  to view and update the following:
- Auto Answer: TO set your webphone to auto-answer, simply click the toggle to "ON"
- Microphone: Choose your microphone settings and then speak to test it's working.
- Speaker: Choose your speaker and then use the test button to ensure it's working.
- Data Center: Choose the data center to route your calls through

